Pixploder documentation
Learn Pixploder
Turn any 2D scene into game-ready layered sprites. Every step, every button — explained.
Quickstart: your first sceneOne scene through all eight steps to a layered PSD, worked on a real 1288 × 794 town with 154 sprites.Credits & plansHow credits, plans, packs, and the 3-day trial work — what every AI action costs, what stays free, what happens when a run fails, how unused trial credits carry over, and how to upgrade, pause, or cancel.Export formatsThe eleven formats the Step 8 Export panel ships, what lands in each download, and which tool opens it.
The pipeline — 8 steps
The editor walks every project through the same eight steps. Each guide covers the full panel: what it does, what it costs, and the tricks that make results better.
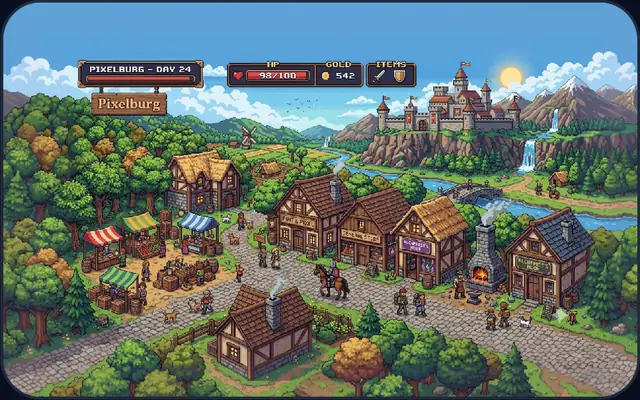 1Step 1 · Source ArtBring a PNG, JPG, or layered PSD into Pixploder — or generate a scene from a text prompt — then review the source and choose your way forward.
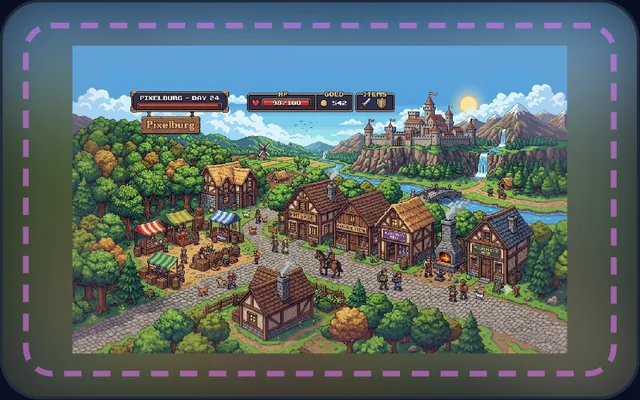 2Step 2 · Extend CanvasGrow or crop the working canvas by per-side pixels and let the AI paint the new space — your pixels never move, scale, or resample.
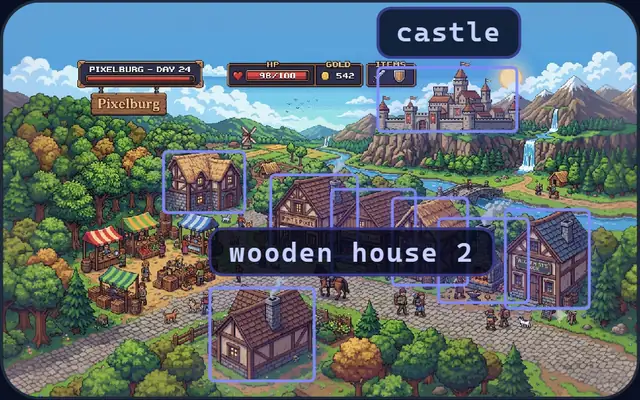 3Step 3 · Find & CutName every object in your scene, cut each one into its own pixel-perfect element, and hand-fix any mask that needs it.
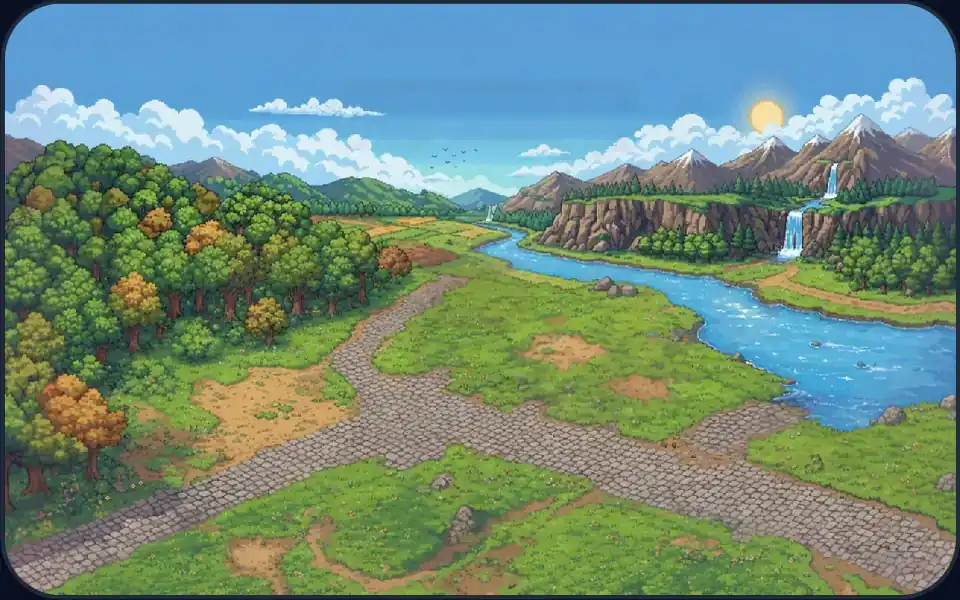 4Step 4 · Rebuild BackplateRepaint the art hidden behind every lifted sprite — roll whole-scene takes, install the best one, then touch up any spot that came back wrong.
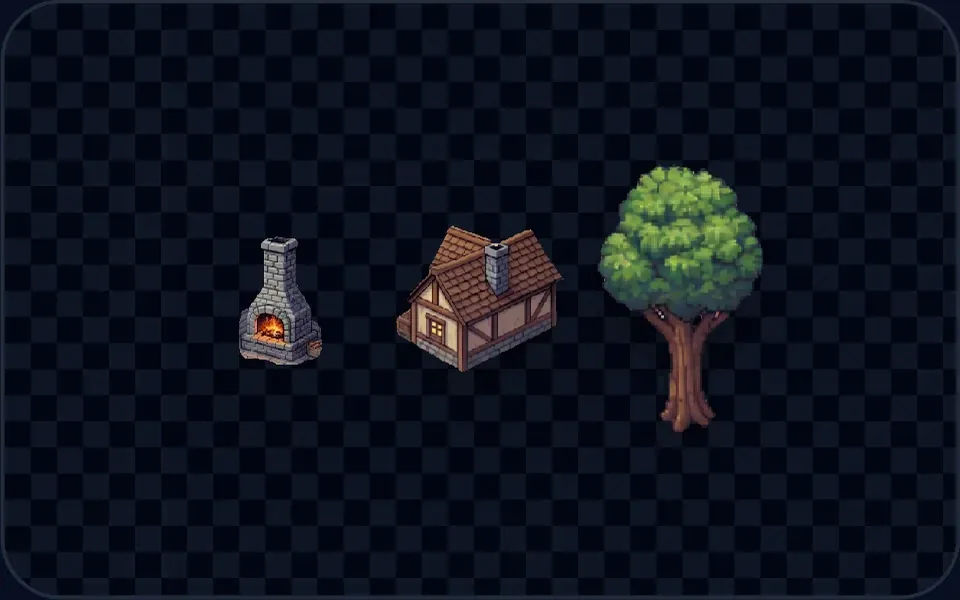 5Step 5 · Finish SpritesRebuild what the cut left out — queue a sprite, generate, then judge every result with ✓ or ↺ until the whole scene is approved.
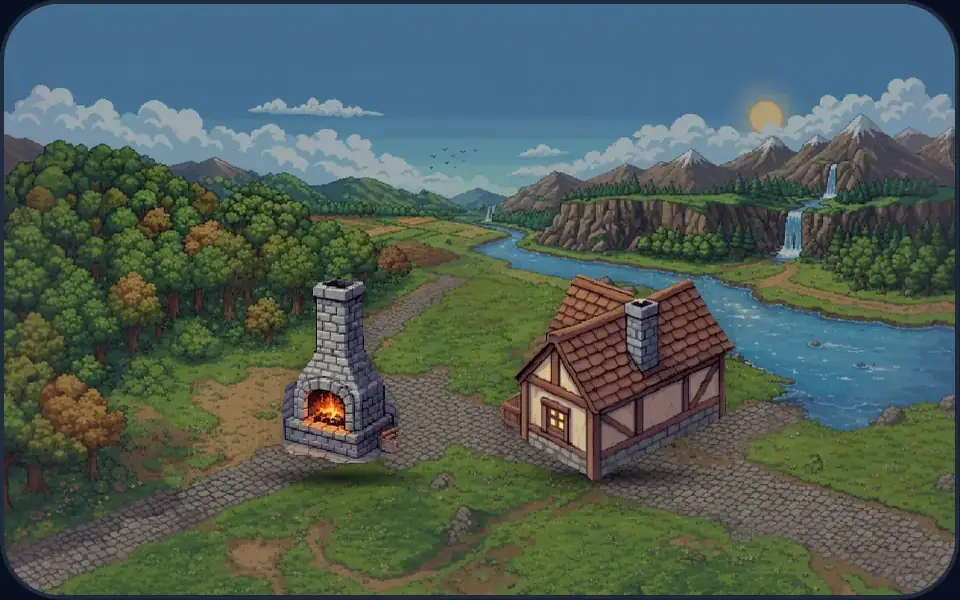 6Step 6 · Add ShadowsGround every sprite with a floor shadow and base shading — shape tuned per group, one look for the whole scene, computed free in your browser.
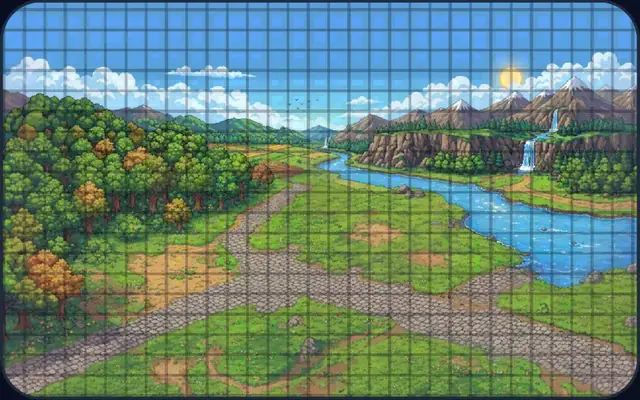 7Step 7 · Final PolishBake the whole scene to a true pixel grid and snap it to a palette you import — one free, local polish pass in your browser before anything is exported.
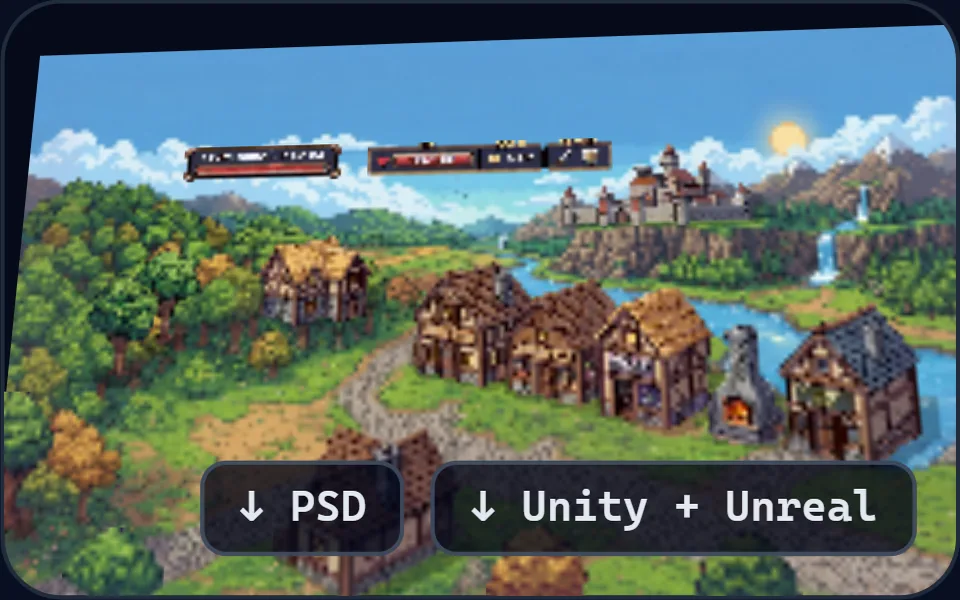 8Step 8 · Preview & ExportInspect the finished scene as a rotatable diorama or a flat composite, hold it against your original, then hand it off in eleven formats — all free, all in your browser.