Step 8 · Preview & Export
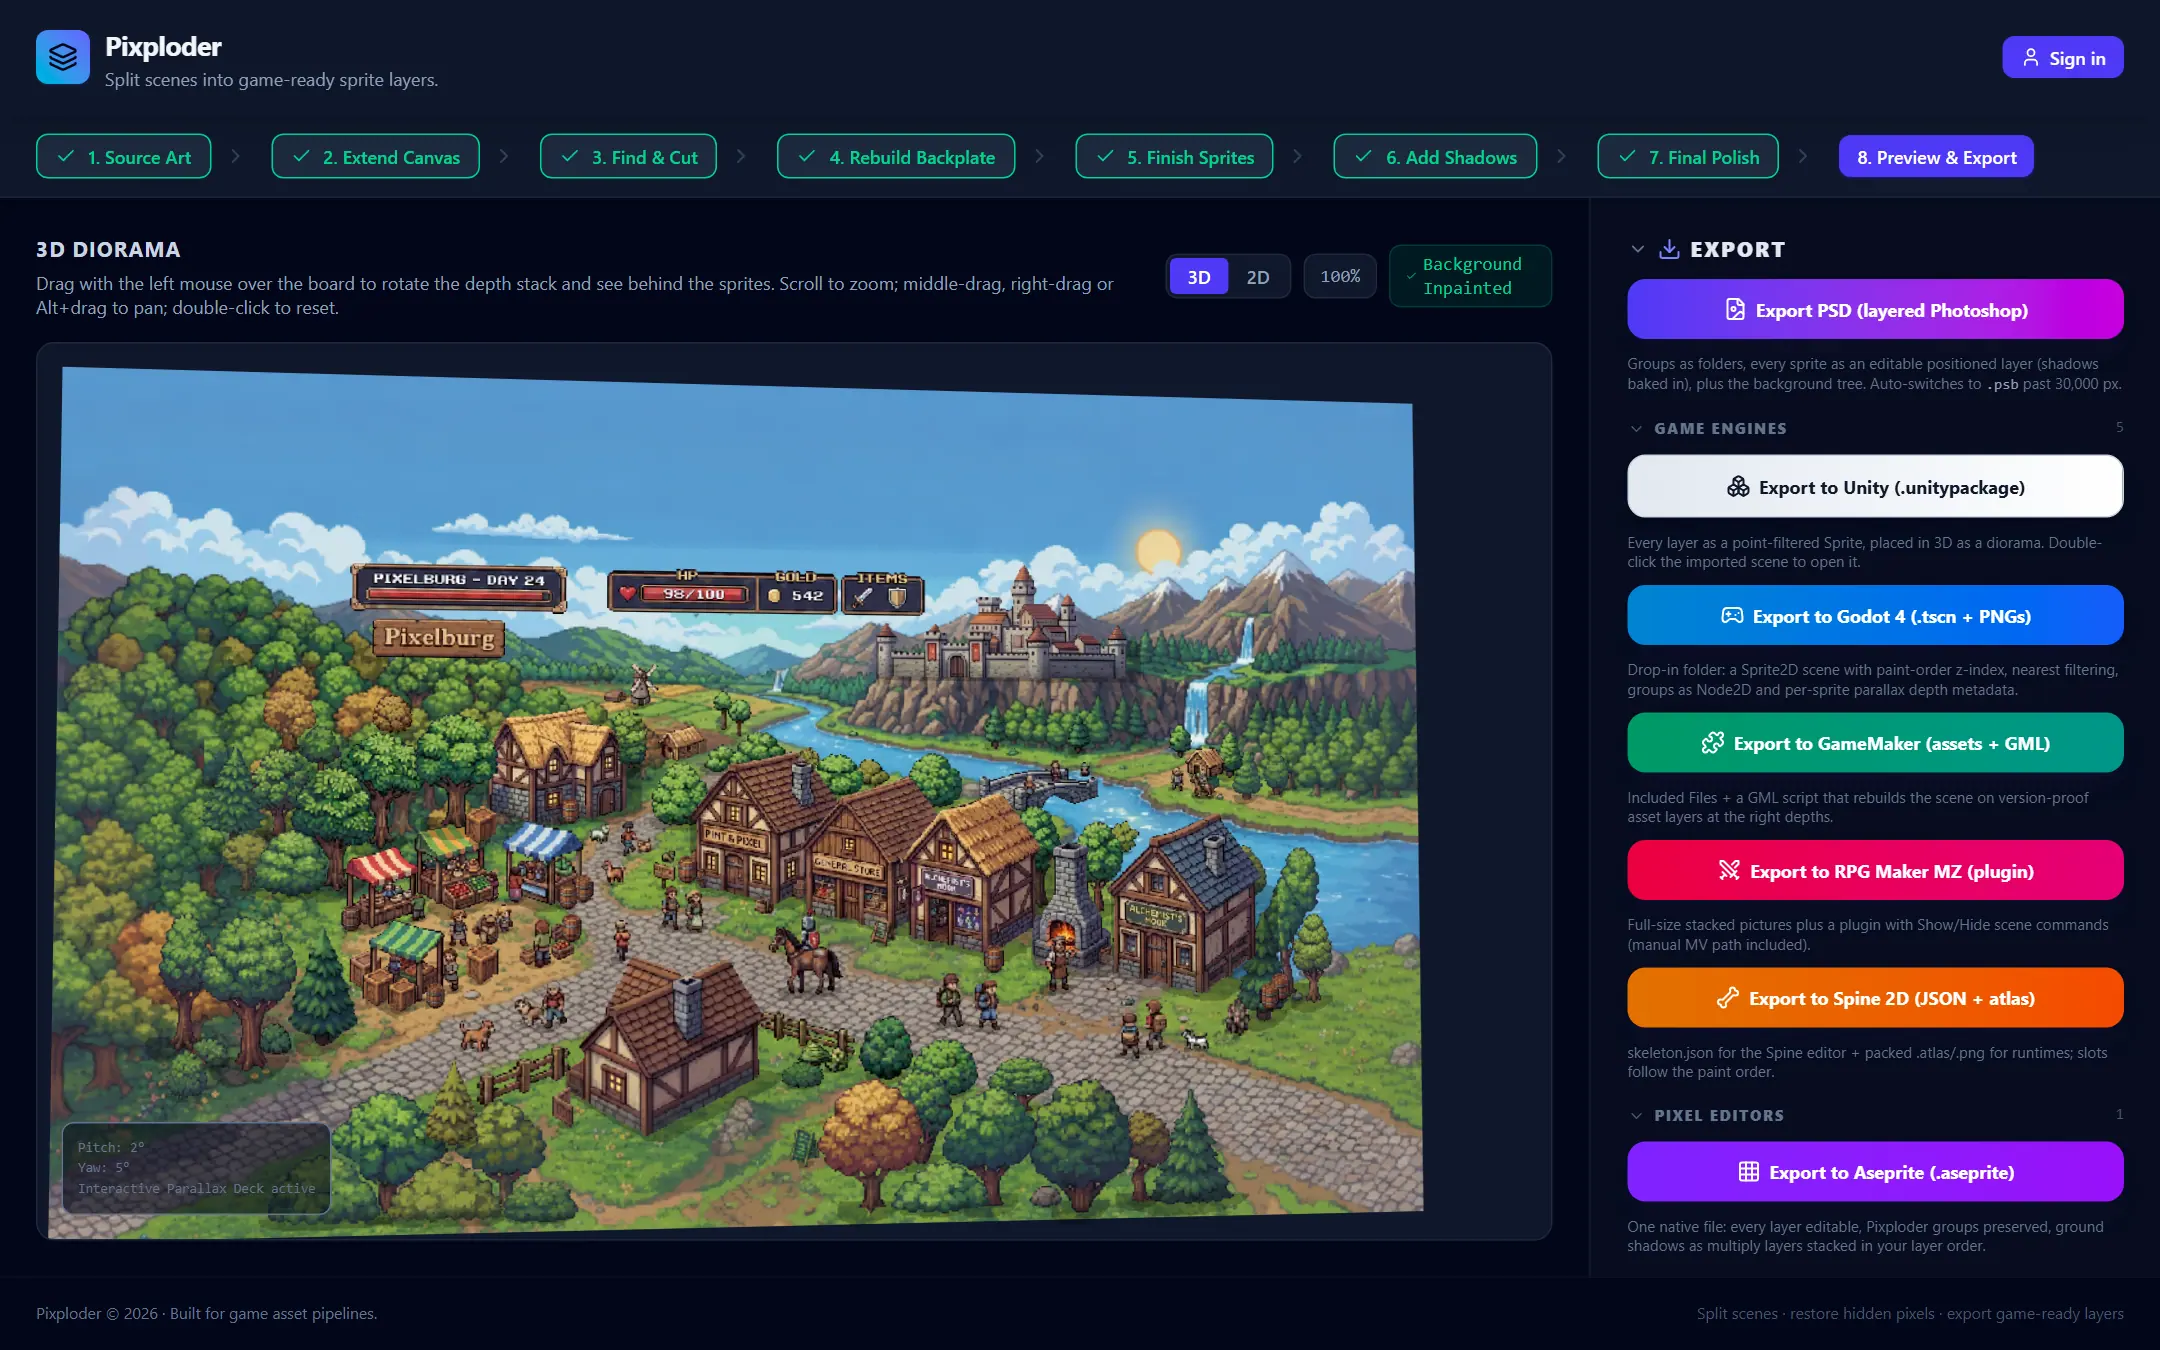
Step 7 · Final Polish settles your scene on its final pixels. Step 8 · Preview & Export is where you inspect that scene and hand the whole thing off — nothing here spends a credit and no AI runs. The left pane shows one of two previews: 3D, a rotatable depth stack, or 2D, the flat composite every export flattens to. The right rail holds exactly one panel, EXPORT, and eleven builders sit inside it. You are done when the preview shows the scene you meant to make and you have downloaded a package for your engine or editor. There is no Continue button — this is the end of the pipeline, and the step timeline across the top is how you go back.
Costs. Nothing on this step spends credits and no AI runs. Every generation already happened upstream — Step 5 · Finish Sprites is where the hidden pixels behind each object were rebuilt. Switching views, orbiting the deck, the entry bake and all eleven export builders run entirely in your browser and cost nothing. See Credits & plans for where credits actually go.
What arriving here bakes
Landing on Step 8 quietly bakes your Step 7 · Final Polish settings into the document you are looking at. There is no button and no progress bar; two passes run in order, and each one skips itself when it has nothing to do:
- The Repixelize resample runs first, and only when the pixel size you chose on Step 7 actually differs from the document you have. With
★ Repixelizeswitched off there, it never runs at all. - The palette snap runs second, and only when a palette is armed on Step 7's rack.
Until the resample and the palette snap have finished, all eleven export buttons are disabled, and each builder repeats the refusal for itself if it is reached anyway: Hold on — the pixel-size bake is still running. The export would ship your layers at the wrong resolution. Try again in a moment; the buttons re-enable themselves.
Note. The bake is a transient view. Leaving Step 8 restores the full-resolution document, and that full-resolution document is also what autosave writes — so a project never stores baked-down pixels, and the bake is simply rebuilt the next time you open this step. A result that lands from a run you started earlier is held until the restore and applied to the full-resolution document, so nothing you paid for is lost to the bake.
Pick a view: 3D or 2D
A two-way toggle sits at the top of the left pane. The heading and its one-line subtitle change with it.
3Dshows the3D Diorama— the rotatable depth stack. Its subtitle is the gesture legend:Drag with the left mouse over the board to rotate the depth stack and see behind the sprites. Scroll to zoom; middle-drag, right-drag or Alt+drag to pan; double-click to reset.2Dshows the2D Preview—Flat composite of the background + sprites. Scroll to zoom; middle-drag, right-drag or Alt+drag to pan.This is the flattened render, shadows baked in, and it is the only view that carries the compare tools.
Neither view takes a click on the picture. Every pointer gesture over either one belongs to zoom, pan, rotation or the compare wipe.

The zoom read-out
The chip beside the toggle prints the live zoom for whichever view is on screen — 100% when you arrive. Each view keeps its own zoom and pan, so flipping between them never disturbs the other's framing.
- In
2Dits tooltip isReset zoom, and clicking it puts the zoom back to 100 % and recenters. - In
3Dits tooltip isReset the view — zoom, pan and rotation, because on the deck it also puts the angles back.
Scrolling zooms from 50 % up to 1000 %, anchored on the cursor, in both views.
The two badges
Background Inpainted is a standing green label. It marks the composite as being drawn on the seamless backdrop you made in Step 4 · Rebuild Backplate — it toggles nothing, it is not a button, and it reads the same on every project. The check that does react to your scene lives inside the deck: with no background present the back plane reads No backdrop yet — exports will have no background layer either., which is a real warning that your exports will ship without a background layer.
The second badge appears only when the entry bake actually rewrote pixels — the resample, or a palette snap; either one is enough. It reads baked · nearest, which is the texture filtering your exports declare, and an armed palette adds a clause of its own, · snapped to followed by that palette's name and how many colors it holds. A third clause is reserved for a color-and-sharpness pass over AI-reconstructed fills, but nothing this app creates is marked that way, so the only note it can print is · nothing to heal — no AI-reconstructed fills in view. Hover the chip for the full summary, which spells the halves out even when they are empty (No heals. / No palette snap.).
The 3D diorama
The diorama is a card stack in perspective: one backdrop plane at the very back, one upright billboard per drawn sprite pushed forward, and each sprite's ground shadow riding in that sprite's own depth slot, a hair behind it so the sprite draws over it.
- Left-drag anywhere over the board to orbit. Horizontal drag swings the yaw, vertical drag tilts the pitch, and letting go — or dragging the cursor off the board — ends the rotation.
- Scroll to zoom, and middle-drag, right-drag or Alt+left-drag to pan. These are the same gestures every other canvas in the editor uses, and they magnify the finished projection exactly as it is drawn: the depth spacing, the perspective and each shadow's place behind its sprite are untouched, so a close look is a close look at the real thing.
- Read the angles in the bottom-left corner. A small mono panel prints the live
Pitch:andYaw:values above the lineInteractive Parallax Deck active. It is informational only; there is nothing to click. - Look behind a foreground object to check the pixels the AI restored underneath it. That is what the depth spread is for.
- Double-click the board to go back to the home view —
Pitch: 12°,Yaw: -20°, 100 % zoom, no pan. The zoom chip in the top bar does exactly the same thing. Alt+drag is a pan gesture and still fires a click on release, so a double Alt-drag deliberately does not reset.
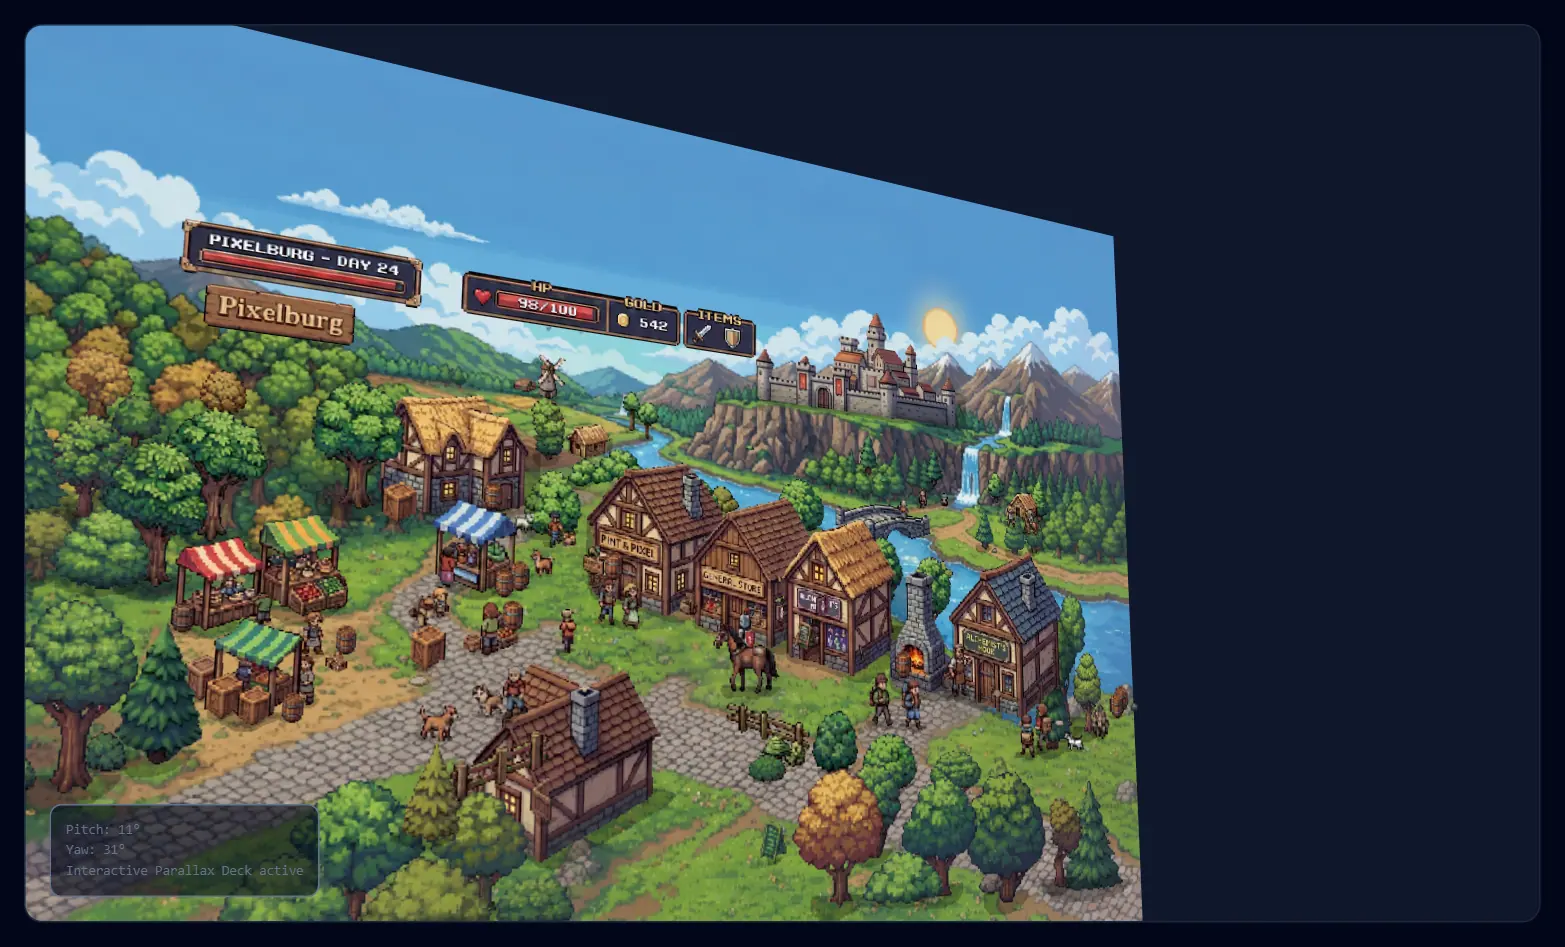
Pitch is clamped between -10° and 45° so the deck can never flip edge-on. Yaw has no limit — keep dragging sideways and you come right around the back.
How the deck is spaced
There are no depth sliders and no parallax dial: the deck spaces itself. Every drawn plane sits the same distance in front of the one behind it, and the backdrop sits exactly that same distance behind the farthest plane, so nothing is ever stranded at the back. Add layers and the deck keeps its overall depth while the gaps get tighter. The nearest plane lands on the perspective pivot, which means the front-most layer renders at the size the 2D composite draws it and everything else recedes behind it.
What is still yours to decide is the order — first in the stack is farthest back, last is nearest — and that order is set on Step 5 · Finish Sprites. Change it there and the stack genuinely moves here, ground shadows with it: a sprite's shadow lands on everything below it and stays under everything above it, in every view and every export (see Step 6 · Add Shadows). Sprites you flagged Keep in background on Step 3 · Find & Cut get no plane of their own — their pixels are already painted into the backdrop, so a second plane would float as a ghost the moment the deck separates — and the ladder spends no slot on them. Grouping does not collapse the stack: every sprite inside a group still takes its own plane, and the group's members stay together at the place the group sits in the tree.
The diorama is deliberately a flat card stack rather than a folded 3D room: ground shadows stay upright in each sprite's own plane instead of lying down on a floor, which is exactly how the 2D composite and every export draw them. The Unity and Unreal Engine projects described in Export formats are built from the same depth model, so what you orbit here is what ships.
On first entering 3D — and after any edit that invalidates the stack — the sprites appear as plain cutouts for a moment while their shaded billboards rebuild in the background. Give it a beat and the Base shading you set on Step 6 · Add Shadows settles in.
Tip. The angle you leave the deck at is saved with the project and comes back the next time you open it. The home angles the double-click restores are fixed, so a project that reopens tilted is showing you where you left it, not a default.
The 2D composite and the compare tools
2D is the flattened render — backdrop, every approved sprite, shadows baked in — flattened the same way the exports flatten the scene. It is built a moment after you switch to the view; until it is ready the pane shows the backdrop on its own. Two chips then float at its top-left corner, and they are how your source image reaches this step:
Hold: original (C)swaps the original over your composite for as long as you hold the button down, or for as long as you hold the C key, and releases the moment you let go. Its tooltip isShow the original while held — or hold the C key.Comparewipes between the two: the original is clipped to the left of a white divider with a round grip, and your result stays on the right. Press anywhere over the image with the left button to jump the divider there, then drag it. Middle-drag, right-drag and Alt-drag stay pan gestures, so you can still move around while the wipe is live, and the divider keeps its on-screen thickness however deep you zoom. Its tooltip on this step isWipe between the original upload (left) and your reconstructed scene (right) — drag anywhere over the image.
"The original" here is your working source: the picture you uploaded or generated on Step 1 · Source Art plus any canvas you added on Step 2 · Extend Canvas. These are the same two controls, the same gestures and the same C key you already used on Step 4 · Rebuild Backplate, Step 5 · Finish Sprites, Step 6 · Add Shadows and Step 7 · Final Polish — only what counts as "the original" changes from step to step. Both chips appear only once the flat composite exists, so give the view a second after you switch to it.
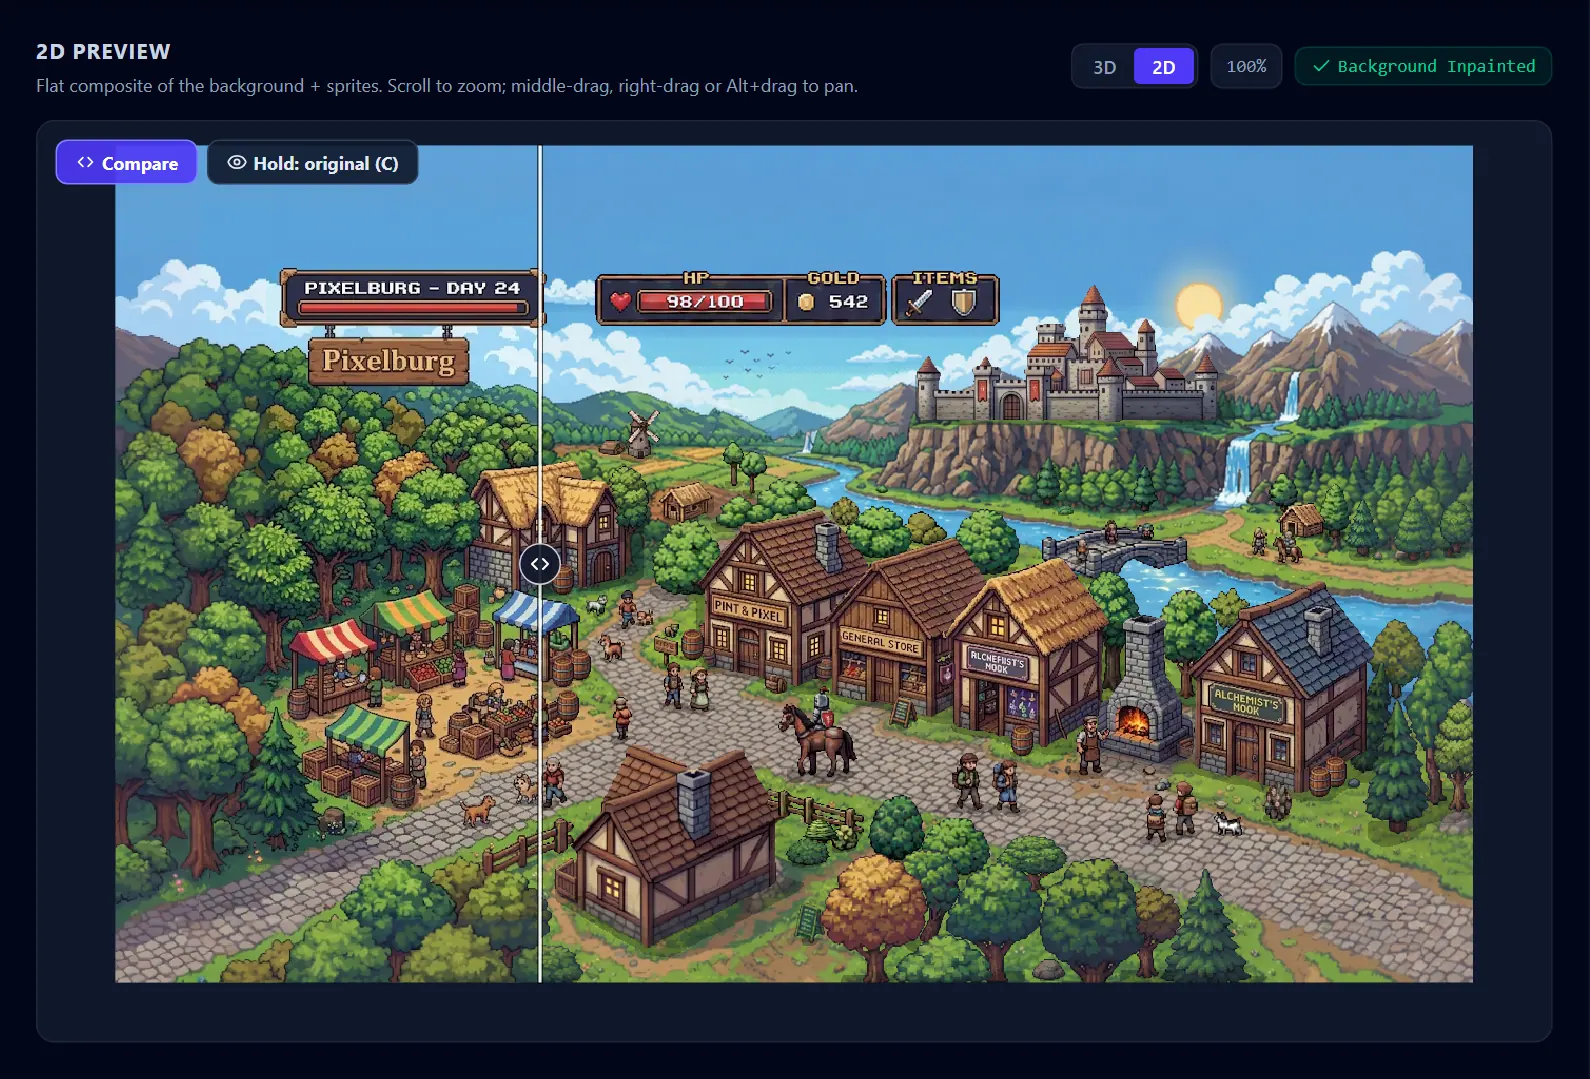
This is a whole-scene check rather than a per-sprite one: everything you moved is measured against the artwork it came out of in a single look, with no selection to make first.
The flat composite is a preview render capped at 1600 px on its long side, so on a scene bigger than that, deep zoom magnifies the preview's coarser pixels rather than your real ones. The export builders read the document itself, never this preview.
What is not editable here
Nothing on this step moves a sprite or restacks one. The 2D composite is a preview and only a preview: a click on the picture does nothing at all — no corner handles, no drag, no nudge keys and no selection to make.
Position, size and paint order are all set on Step 5 · Finish Sprites, on the scene the sprite was cut out of. Drag a sprite to move it, pull one of its corner dots to scale it, and press Reset in that step's read-out to put it back — or Snap, whose tooltip reads Snap to original, to fit the applied version back onto the original cut-out. Above the scene, Sort back to front lays the whole stack out in one press and the two chevron chips beside it move the selected sprite one slot at a time, with a small badge saying which slot it landed in and how many there are. That is the right place to judge both, because the picture underneath is still the artwork the sprite came from and an overlap is something you have to see.
What you set there is what you see here. The flat composite, the diorama, the saved project and all eleven exports read the same placement and the same order — so if a sprite sits wrong or paints over its neighbor in this preview, go back three steps, fix it, and come forward again. Nothing is lost either way.
Careful. An approval gate decides what arrives. As soon as you have ✓-picked anything in Step 5 · Finish Sprites, only approved sprites reach this step and the exports — the ones you ticked, plus every sprite with nothing queued or generated against it, which has nothing to review in the first place. Results you queued but never judged do not leak into the final scene. Pick nothing at all and everything flows through as before. Approval is per sprite, so a group whose members you approved only some of comes through with exactly those members.
Two controls that older builds put on this step are gone for good, and neither has a replacement here: there is no per-layer eye (every approved sprite ships, in every format — a sprite you do not want in the package is one you leave un-approved on Step 5, or delete there), and there is no Solo and no Original view (Compare and Hold: original (C) answer the same question against your result rather than in place of it).
The EXPORT hub
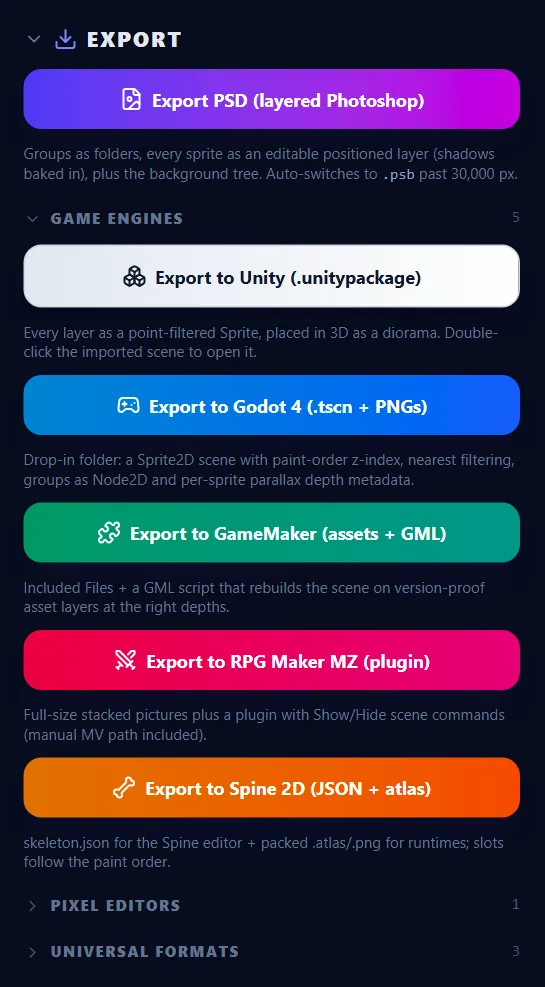
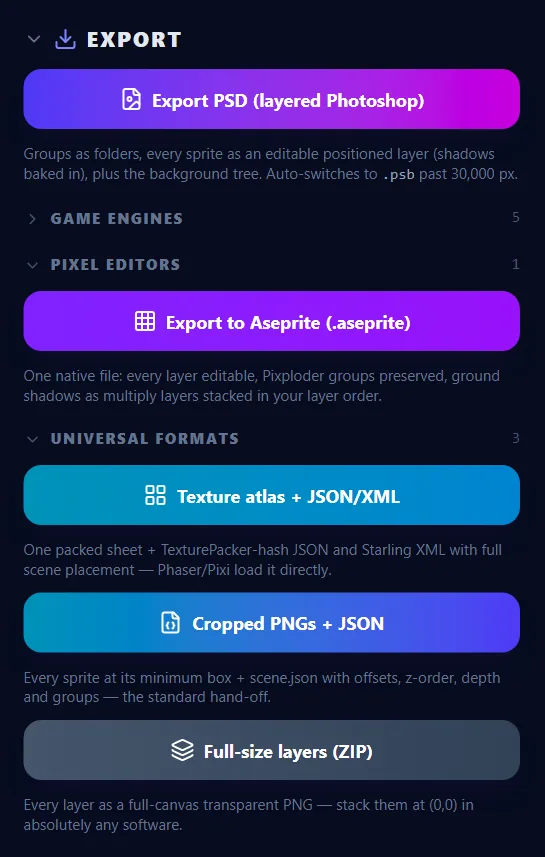
The EXPORT panel is the only block in the right rail and the headline act of the step. Its header carries a download mark and collapses the whole panel; folded, it shows a 11 formats hint, and its tooltip flips between Expand the Export panel and Collapse the Export panel. It opens with everything showing — the primary button first, then all three subsections already expanded — so the eleven formats are one scroll rather than three clicks away. Each subsection header carries its own count and folds independently; a section you fold stays folded for the session.
Every button is full-width and carries a one-line description underneath. On eight of them — every builder except the layered PSD, the Unity package and the Unreal project, which print their line only under the button — that same line doubles as the hover tooltip.
| Section | Buttons |
|---|---|
| (primary) | Export PSD (layered Photoshop) |
Game engines 6 | Export to Unity (.unitypackage) · Export to Unreal Engine (UE5 project) · Export to Godot 4 (.tscn + PNGs) · Export to GameMaker (assets + GML) · Export to RPG Maker MZ (plugin) · Export to Spine 2D (JSON + atlas) |
Pixel editors 1 | Export to Aseprite (.aseprite) |
Universal formats 3 | Texture atlas + JSON/XML · Cropped PNGs + JSON · Full-size layers (ZIP) |
Export PSD (layered Photoshop) is the primary button and the only PSD builder in the app: the Find & Cut tree as folders — the ones you built, and the tag heading every other top-level element sits under — every sprite as an editable positioned layer with its shadows baked in, a Shadows folder at the bottom, plus the background tree. It switches to .psb automatically past 30,000 px, and it grays out while the project has no sprites at all.
Every one of the eleven is assembled from what this step is showing you — paint order, the approval gate, the shadows from Step 6 · Add Shadows and the entry bake are all respected, so the files agree with each other and with your screen. For the full per-format breakdown — what each archive contains and which tool opens it — see Export formats.
Note. A running export shows Building… and refuses re-clicks. The layered PSD, the Unity package and the Unreal project each hold their own lock, so none of them blocks anything else; the other eight share a single lock, so starting one of them dims the rest until it finishes. With nothing placed in the scene those eight stop with Nothing to export yet — reconstruct the scene first., and the two engine projects — which will still package a bare backdrop — with Nothing to export to Unity yet — reconstruct the scene first. and Nothing to export to Unreal yet — reconstruct the scene first. Every builder runs in your browser and hands you a file — no credits, no upload, nothing sent anywhere.