What is Pixploder
Pixploder is a browser editor that splits a flat 2D scene into game-ready sprite layers — every object cut onto its own transparent layer, the art that was hidden behind it repainted, the finished stack staged as a rotatable diorama and handed off to your engine. Any art style is fair game — pixel art, painted, anime — and the panel on Step 1 says as much: Any art style works. You bring one image and leave with a layered PSD, an engine package, a packed atlas, or a folder of cropped PNGs — all assembled from the same finished scene, so every one of them places your sprites identically. Nothing installs and no GPU is involved: the editor runs in your browser, and the AI runs on Pixploder's servers under Pixploder's keys, so there is no API key for you to supply.
Who it's for
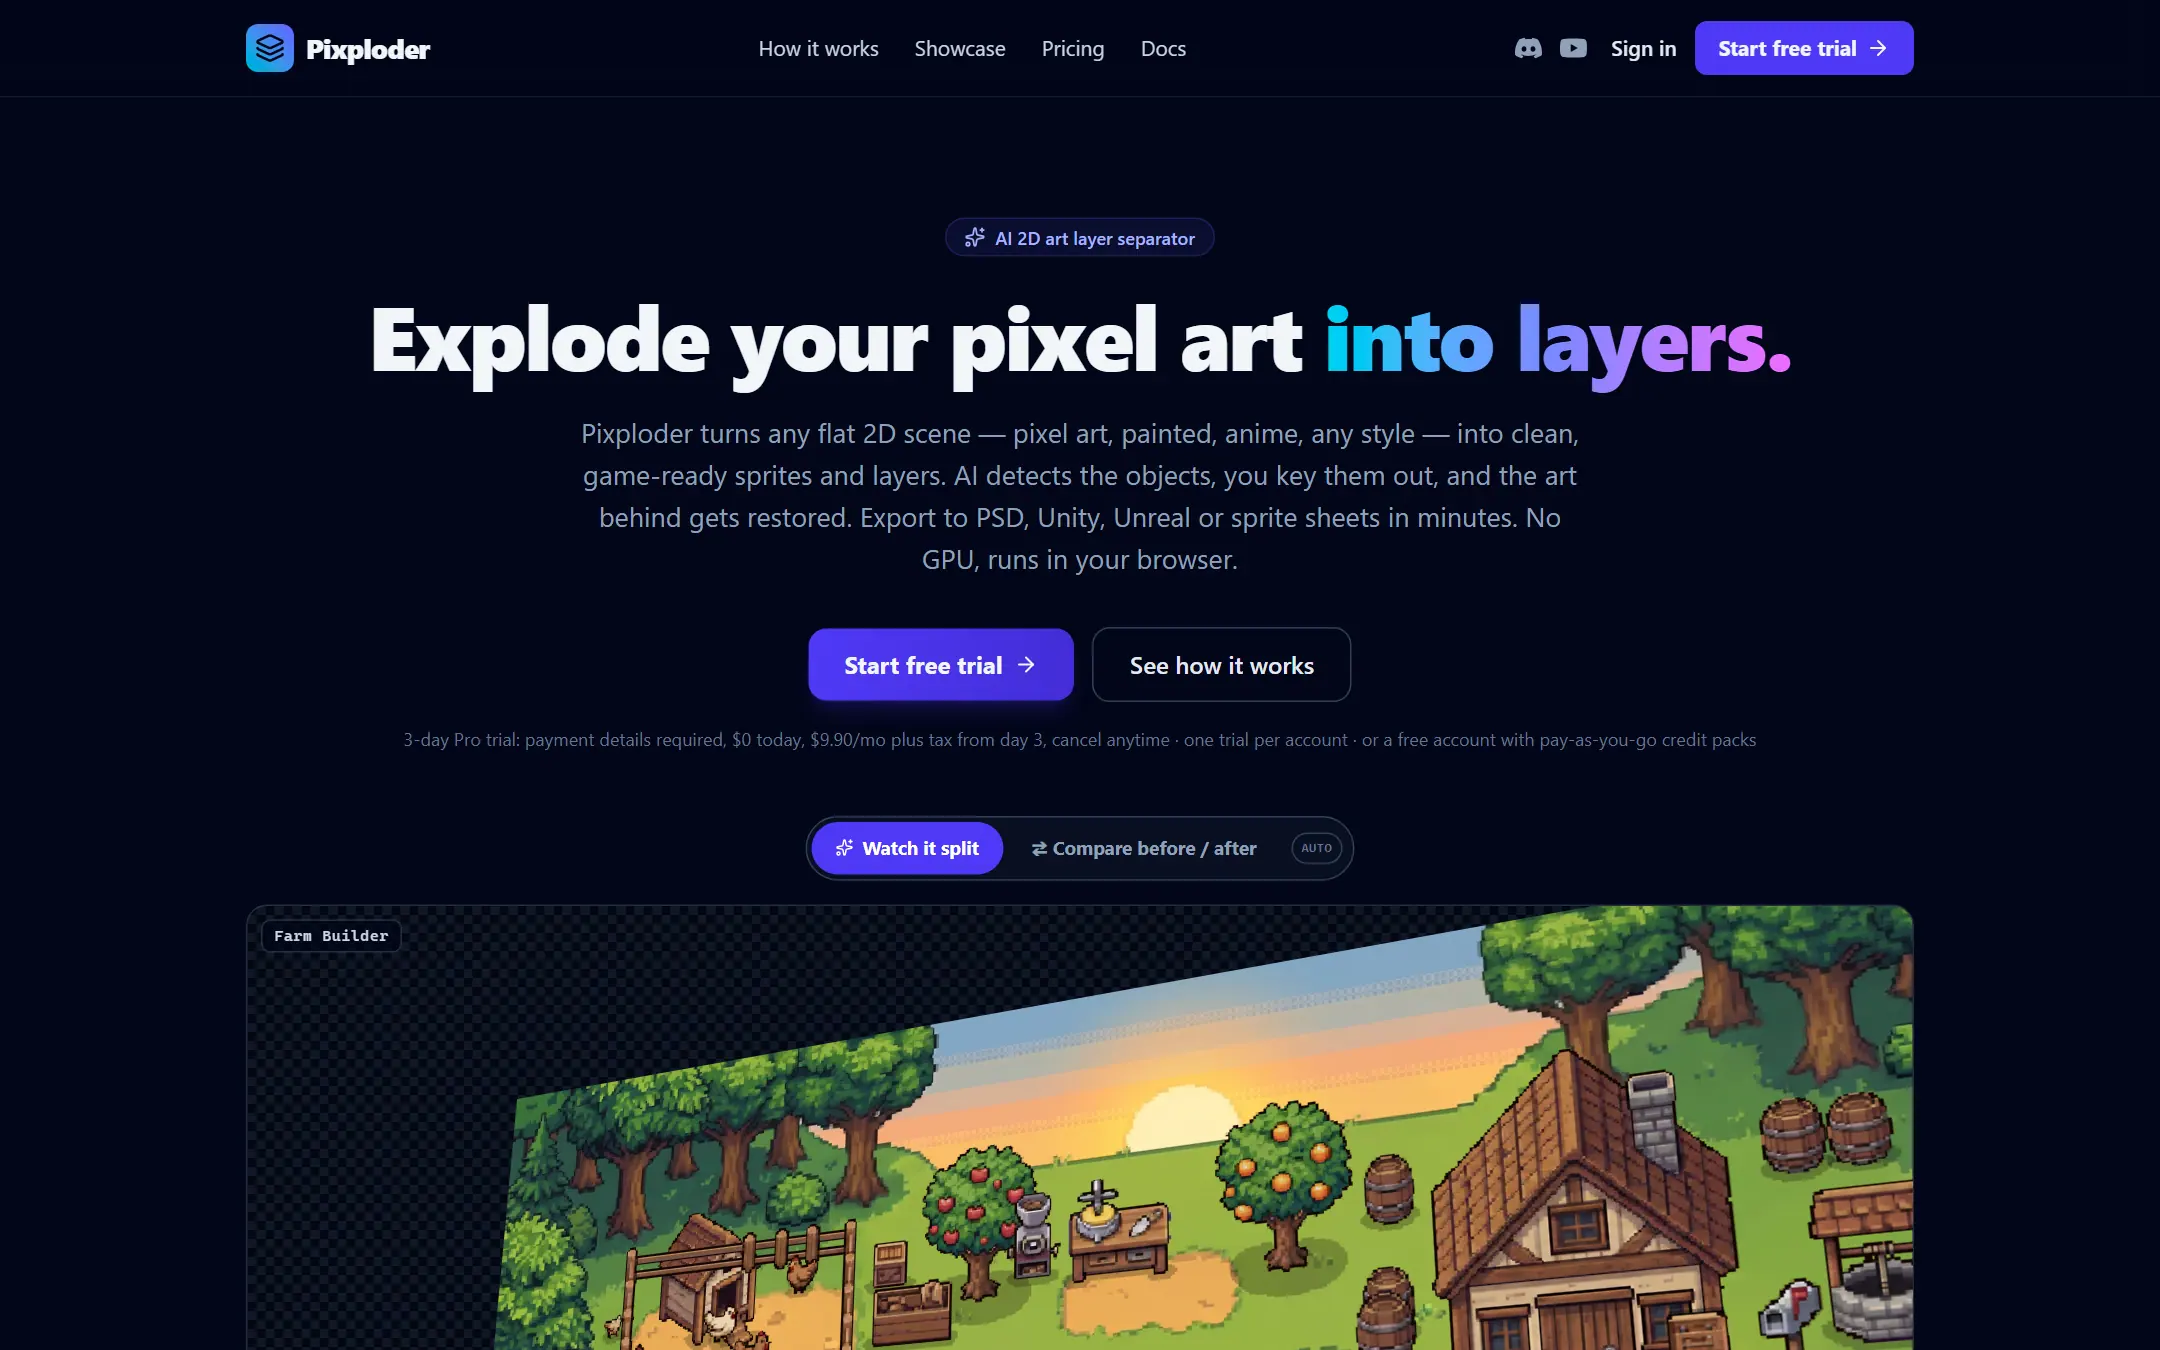
Pixploder is built for solo gamedevs and 2D artists who have scene art and need it broken into movable, engine-ready pieces — without hand-masking every object or repainting whatever a sprite was standing in front of.
Automated, but never final: the AI proposes and you decide. Masks stay editable by hand, backgrounds arrive as takes you swap between, and the sprites the AI redrew on Step 5 wait for your verdict — once you approve your first one, only the sprites you approved, plus any that sit in no call at all, reach the later steps and your exports. Your source image is never painted over, either: the cut-outs, the repainted background and the shadows all live in layers beside it, and Step 8's 2D view can still wipe that flat original across your finished scene with Compare and Hold: original (C).
What goes in, what comes out
In. One 2D scene: a PNG or JPG dropped on Step 1's Upload your 2D game art box, or a layered .psd or .psb whose layers become your sprites — that route skips Steps 2 through 4 and lands you straight on Step 5, with no AI involved. No art yet? Type a sentence under Generate a scene with AI and Step 1 makes one for you.
Out. The EXPORT panel on Step 8 builds eleven formats out of one snapshot of the finished scene: a layered Photoshop file first, then six game-engine targets, one pixel-editor file, and three universal packages. Every one of them is assembled in your browser, so your PSD, your engine package and your atlas agree with each other sprite for sprite. Export formats is the per-format reference.
The eight steps
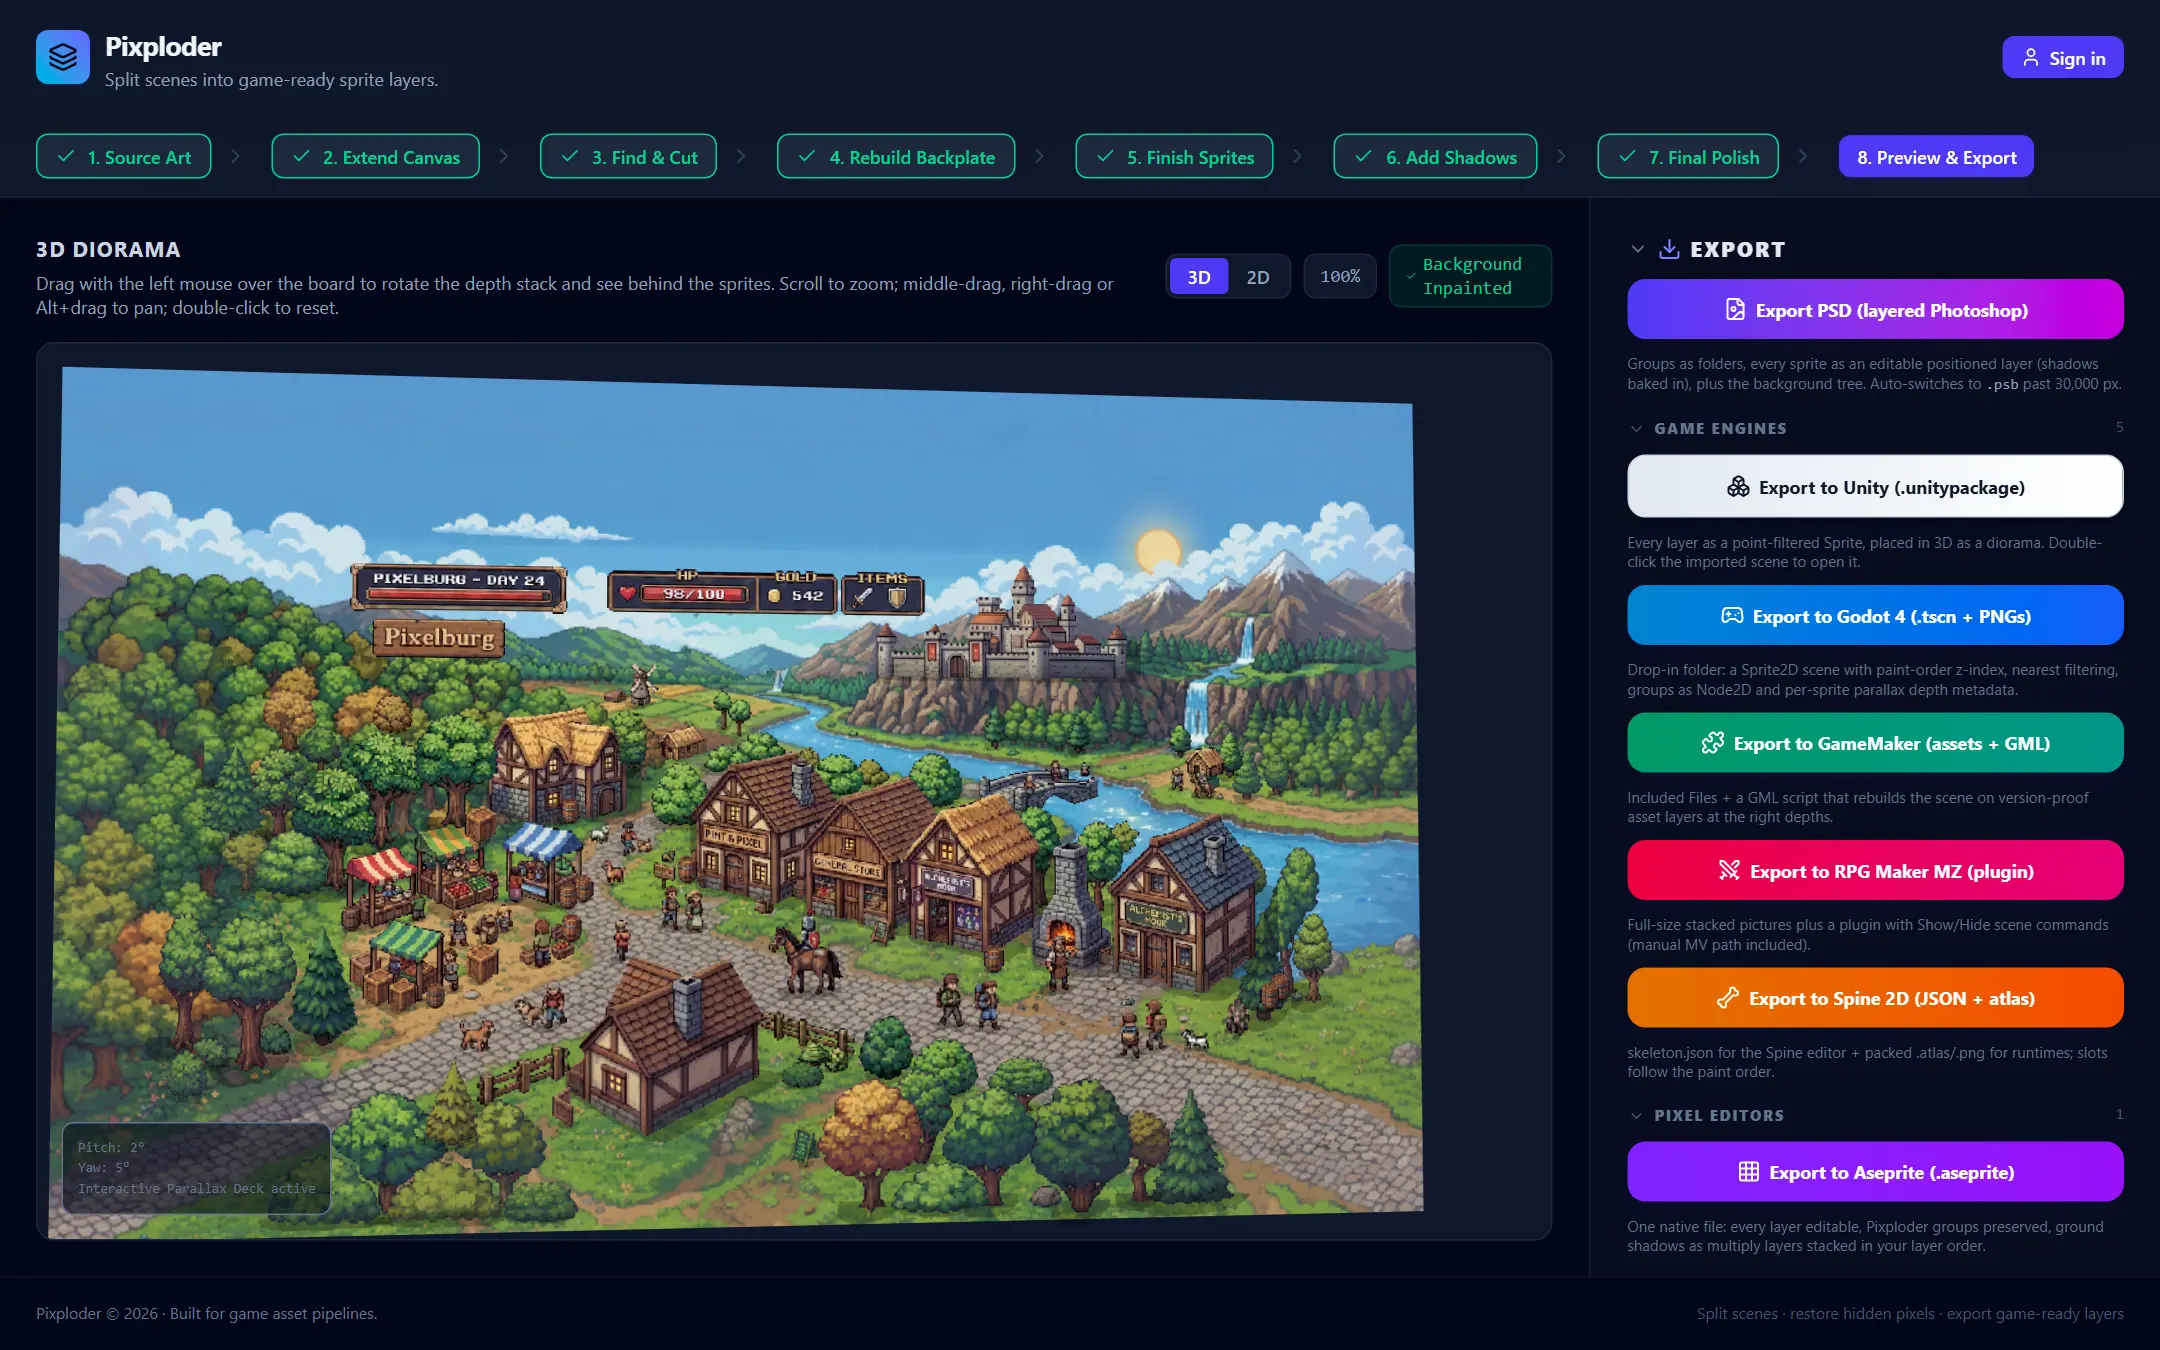
Every project moves through the same eight steps, in order, along the stepper at the top of the editor. Each one has its own guide:
- Step 1 · Source Art — Bring a 2D scene as a PNG or JPG, import a layered PSD, or describe a scene in words and let the AI generate one.
- Step 2 · Extend Canvas — Drag any edge or corner of the canvas outward to grow it, inward to crop, and let the AI paint whatever new space you opened. Your original pixels never move, scale, or resample.
- Step 3 · Find & Cut — The AI tags every object in the scene and cuts each one out with its own mask; you rename, re-box, split and repaint them by hand.
- Step 4 · Rebuild Backplate — Repaint the holes those cut-outs left, in whole-scene takes. Put the best take in use, then touch up any region that came back wrong.
- Step 5 · Finish Sprites — Turn each cut-out into a standalone sprite on clean alpha. Every sprite that has never been through a call arrives already lined up in the
QUEUEDshelf of theRebuild spritespanel, where one paid run rebuilds the parts another object was covering. Results come back unjudged on theRESULTSshelf, and a✓moves one to the approved pile. - Step 6 · Add Shadows — Ground every sprite with a
Ground shadowandBase shading, computed in your browser from the sprite's own silhouette. - Step 7 · Final Polish — Optionally bake the whole scene onto a true pixel grid and snap it to a palette you import. Both are set here and both run on the way into Step 8, so nothing has to be applied by hand.
- Step 8 · Preview & Export — Stage the layers as a
3Ddiorama you can drag to rotate and see behind the sprites, or as a flat2Dcomposite, then export the lot.
Steps 1 through 4 build the scene and pull it apart; steps 5 through 8 finish the pieces and ship them.
The editor at a glance
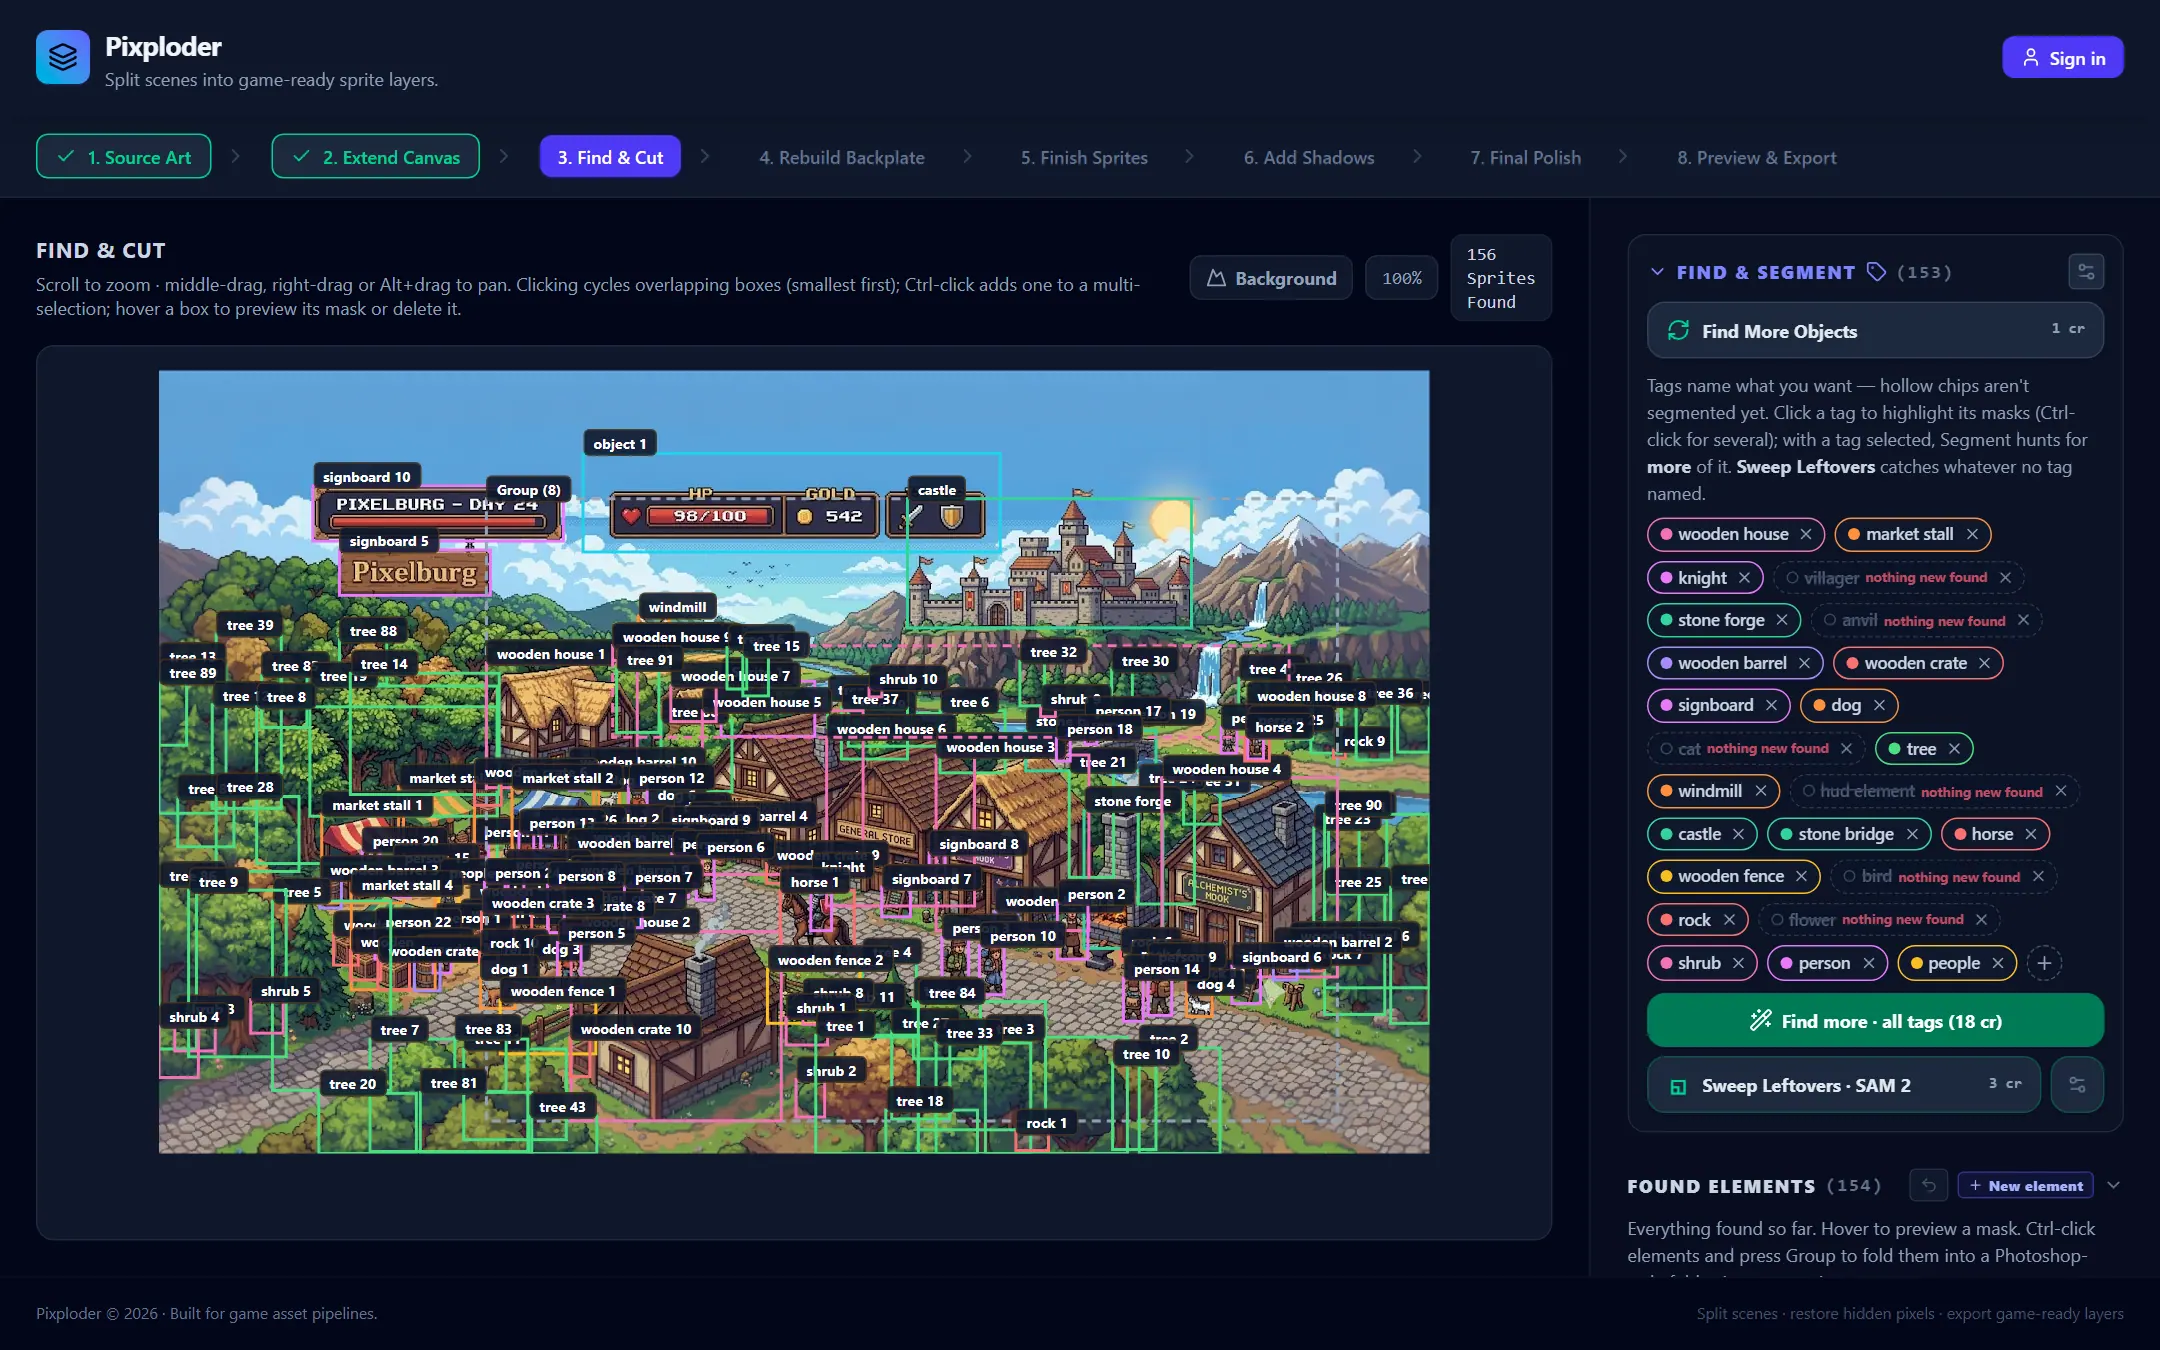
Four things make up every screen.
- The header. The brand mark, the tagline
Split scenes into game-ready sprite layers., and on the right your project's name with a live save read-out beside it (saving…,saved,unsaved changes…, orsave failed), aProjectsbutton, anUpgradebutton that readsPlans & Creditson a paid plan, and the account cluster: your email, your plan, your credit balance, and a sign-out button. There is no anonymous editor — aSign in to startscreen comes first, thenYour projects, where you open or name a project before the canvas appears. - The stepper. Eight nodes reading
{number}. {label}on a wide screen, shrinking to numbered dots on a phone with the active step's name spelled out underneath; every node carries its full{number}. {label}as a tooltip. The step you are on is highlighted and every step behind it carries a check. Until a scene is loaded, every node except1. Source Artand4. Rebuild Backplateis dimmed and unclickable; from then on you can click any node to jump straight to it, because the pipeline has an order, not a lock. The checks mark position rather than quality — a step you skipped gets one too. - The canvas. The large left pane: your scene, and whatever the current step lets you point at.
- The right rail. The current step's controls, and where each step ends. Every step but the last closes its rail with a forward button —
Continue to Extend Canvas,Continue to Find & Cut,Confirm & Proceed,Continue to Finish Sprites,Continue to Add Shadows,Continue to Final Polish, andContinue to Preview & Export. On a narrow window the rail stacks underneath the canvas instead of beside it.
Where the AI is used

Five of the eight steps can call the AI, and all five make you ask for it: generating a scene on Step 1, filling newly opened canvas on Step 2, tagging and segmenting on Step 3, repainting the backplate on Step 4, and rebuilding sprites on Step 5. The mask editor's ✨ AI mask section and its ◱ Split AI carve spend credits too, as does the repair window's AI hole fill. Everything else runs on your own machine and costs nothing.
Costs. Every AI button prints its own price in credits before you press it, a Use {n} credits? dialog confirms the spend (with a Don't ask again this session box), and a generation that fails comes back to your balance — in full when the AI was never reached, minus a single credit when it had already started. Free forever: hand-masking, color-keying, Refine mask, the Flat color and Period clone hole fills, all of Step 6 · Add Shadows and Step 7 · Final Polish, the diorama, and every one of the eleven exports. See Credits & plans for what a credit buys and what each plan includes.
Topics with their own reference pages
A few topics either open in a window on top of a step or run across several of them, so each gets a page of its own:
- Mask editor — the workspace behind every mask: the
Tap,Element,BrushandBoxtools,Fill holes,✨ AI mask,Refine mask, and◱ Splitmode. - Sprite repair — the window the wrench badge on a version thumbnail opens:
FILL HOLES,EDGE,MATCH ORIGINAL, and✓ Apply & close. - The keyer — the
🎛drawer on Step 5: what keying is, every parameter, and per-sprite versus run-wide settings. - Calls & sheets — how queued sprites pack into calls, the calls panel, repacking, and
GENERATION HISTORY. - Export formats — what each of the eleven output files holds and which tool opens it.
- Projects & autosave — the
Projectspanel, saving, storage, and project retention. - Keyboard & pointer — every shortcut, and how zoom and pan work on each canvas.
- FAQ — the short answers.
Tip. Want the pictures first? The Features overview is an illustrated tour of everything the editor can do, step by step. Want to just build something? The Quickstart takes one scene all the way to a layered PSD.